Halloween Cake Pops
Not long now ’till Halloween and my girls (especially the eldest) kept asking for desserts to celebrate the day so as I received some delicious Hadleigh Maid’s Baking Buttons I thought I used them in creating chocolate cake pops.
But as I had two kids around they didn’t end up as good as they were supposed to. Anyway, they loved them so I will share my recipe with you too:
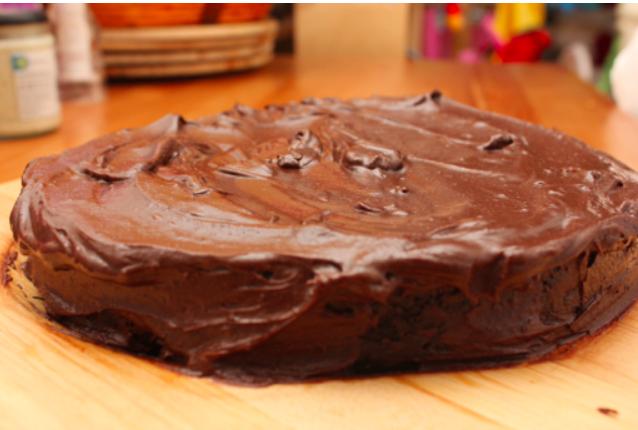
Kara said she wants chocolate inside so I thought I should use the recipe for the brownies I always make for them. Have a look at the link before for the recipe. Instead of using cacao though I used melted milk chocolate buttons from Hadleigh – 200g.
After your cake is bake take it out of the oven and leave it cool well. When cold break pieces out of it and crumble it into a big bowl. It should all resemble bread crumbs. It is important for the cake to be really cool as otherwise it will be quite lumpy. Then add jam – I added apricot jam as it was what we had in our house and plus it is home made and a lot tastier than the shop bought one. Plus my girls like this jam anyway.
However it very much depends on how thick your jam is so I can’t really tell you an exact quantity. I used 4 tablespoons but my jam is quite runny. If you are unsure it is best to add 2 tablespoons first and then mix it all up. You might need to get your hand in there to help the sponge crumbles and the jam combine.
If after two spoons the mixture is still quite dry then you will need to add more. After each spoon you will need to mix again. The mixture needs to be quite wet and you should be able to make balls that are quite firm wit your hands.
If you are ok to do the balls then take a baking tray (one that will fit in your fridge) and lay some baking paper on it – you will use this to put balls made out of your sponge and jam mixture. When you finish making the balls put them all in the fridge and keep them in there for at least an our until they are very firm.
In the meantime you should start preparing the decorations:
- 250g White chocolate buttons – melt , separate in two bowls;
- yellow/orange food colouring (gel)- to add to one bowl of white chocolate to make the cake pop pumpkins;
- black and green food colouring (gel) – to decorate the cake pop pumpkins and ghosts;
- a piece of polyester wrapped in cellophane;
- lollipop sticks or wooden skewers;
If the balls stayed long enough in the fridge then take couple out at the time to decorate them. If you take them all out then the cake might become soft.
Method of decoration:
If the chocolate is melted and ready then first take the lollipop stick , dip it in the chocolate and then stick it about half way into a ball, then swirl the bowl into the chocolate up to the stick.
Be careful when you take it out of the chocolate and gently tap your hand on the side of the bowl so that the excess drips off. Next stick it into the piece of polyester, Repeat the operation with the rest of the balls and then add them into the fridge so that the chocolate will firm up well.
I left them for a couple of hours.
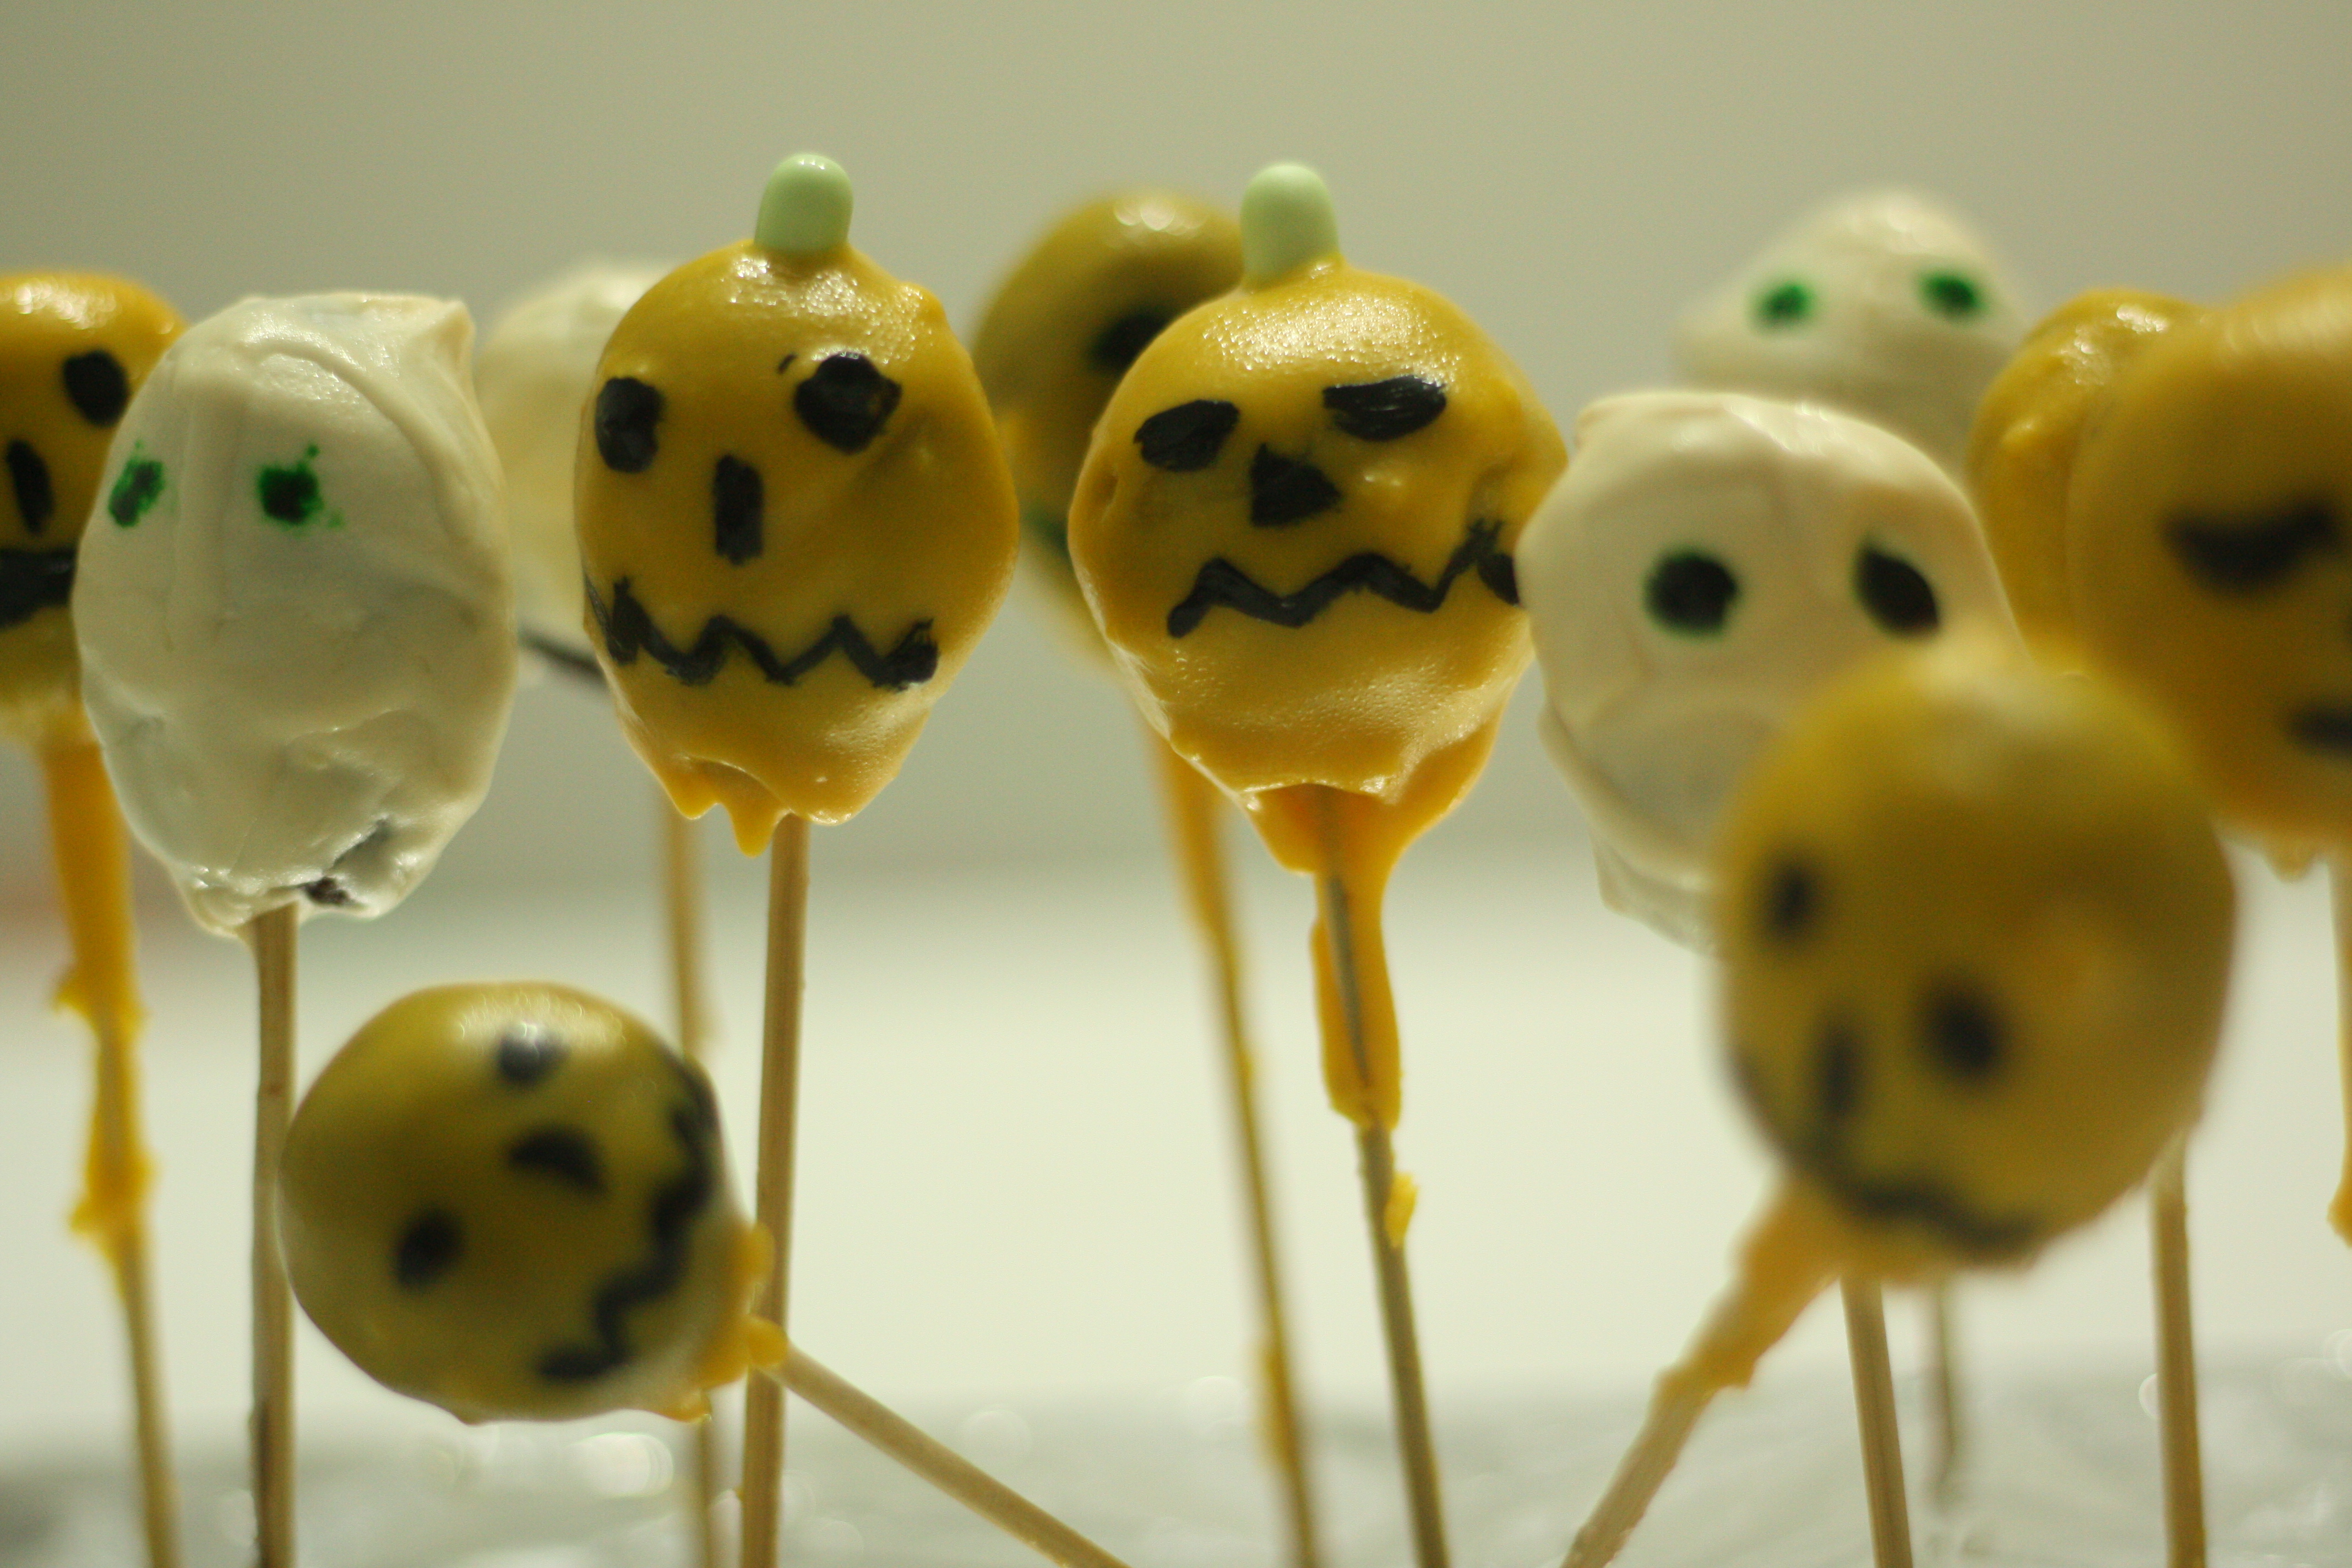
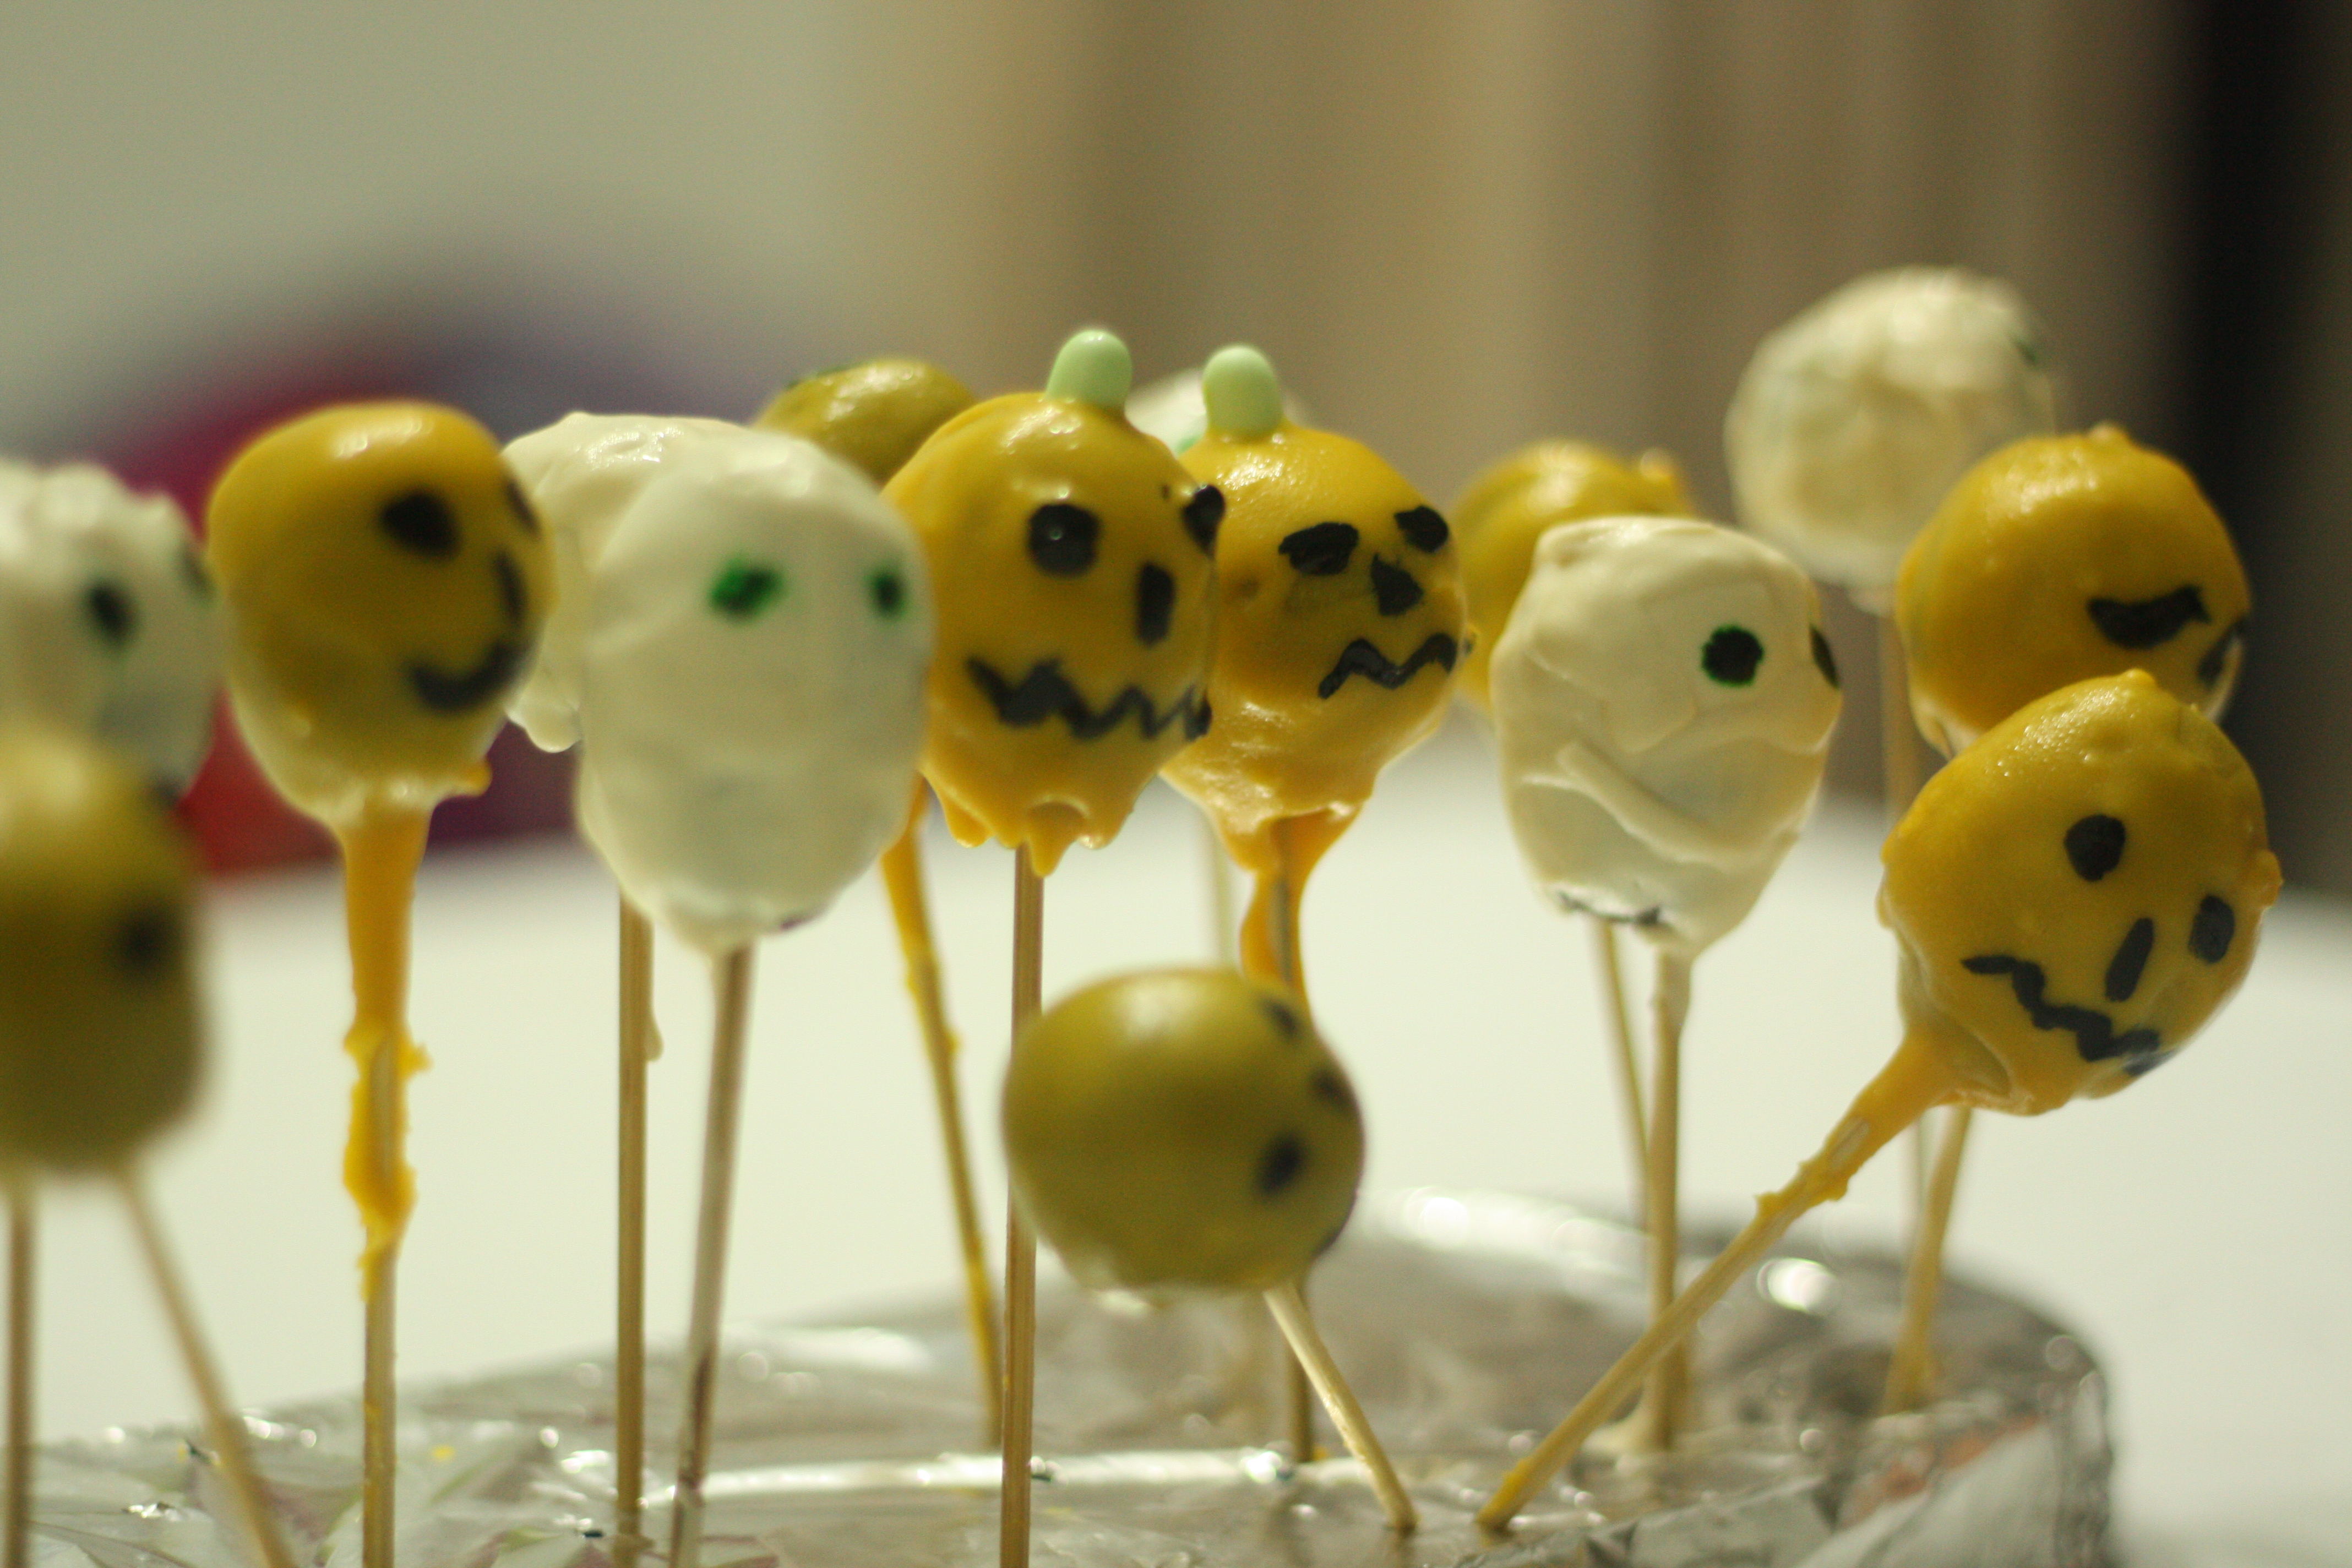
When I took them out I decorated them with black gel colouring – pumpkins faces and green gel colouring – the ghosts.
I wanted to use white coloured chocolate but the girls ate the rest of it so had to improvise and the girls mouths got coloured.
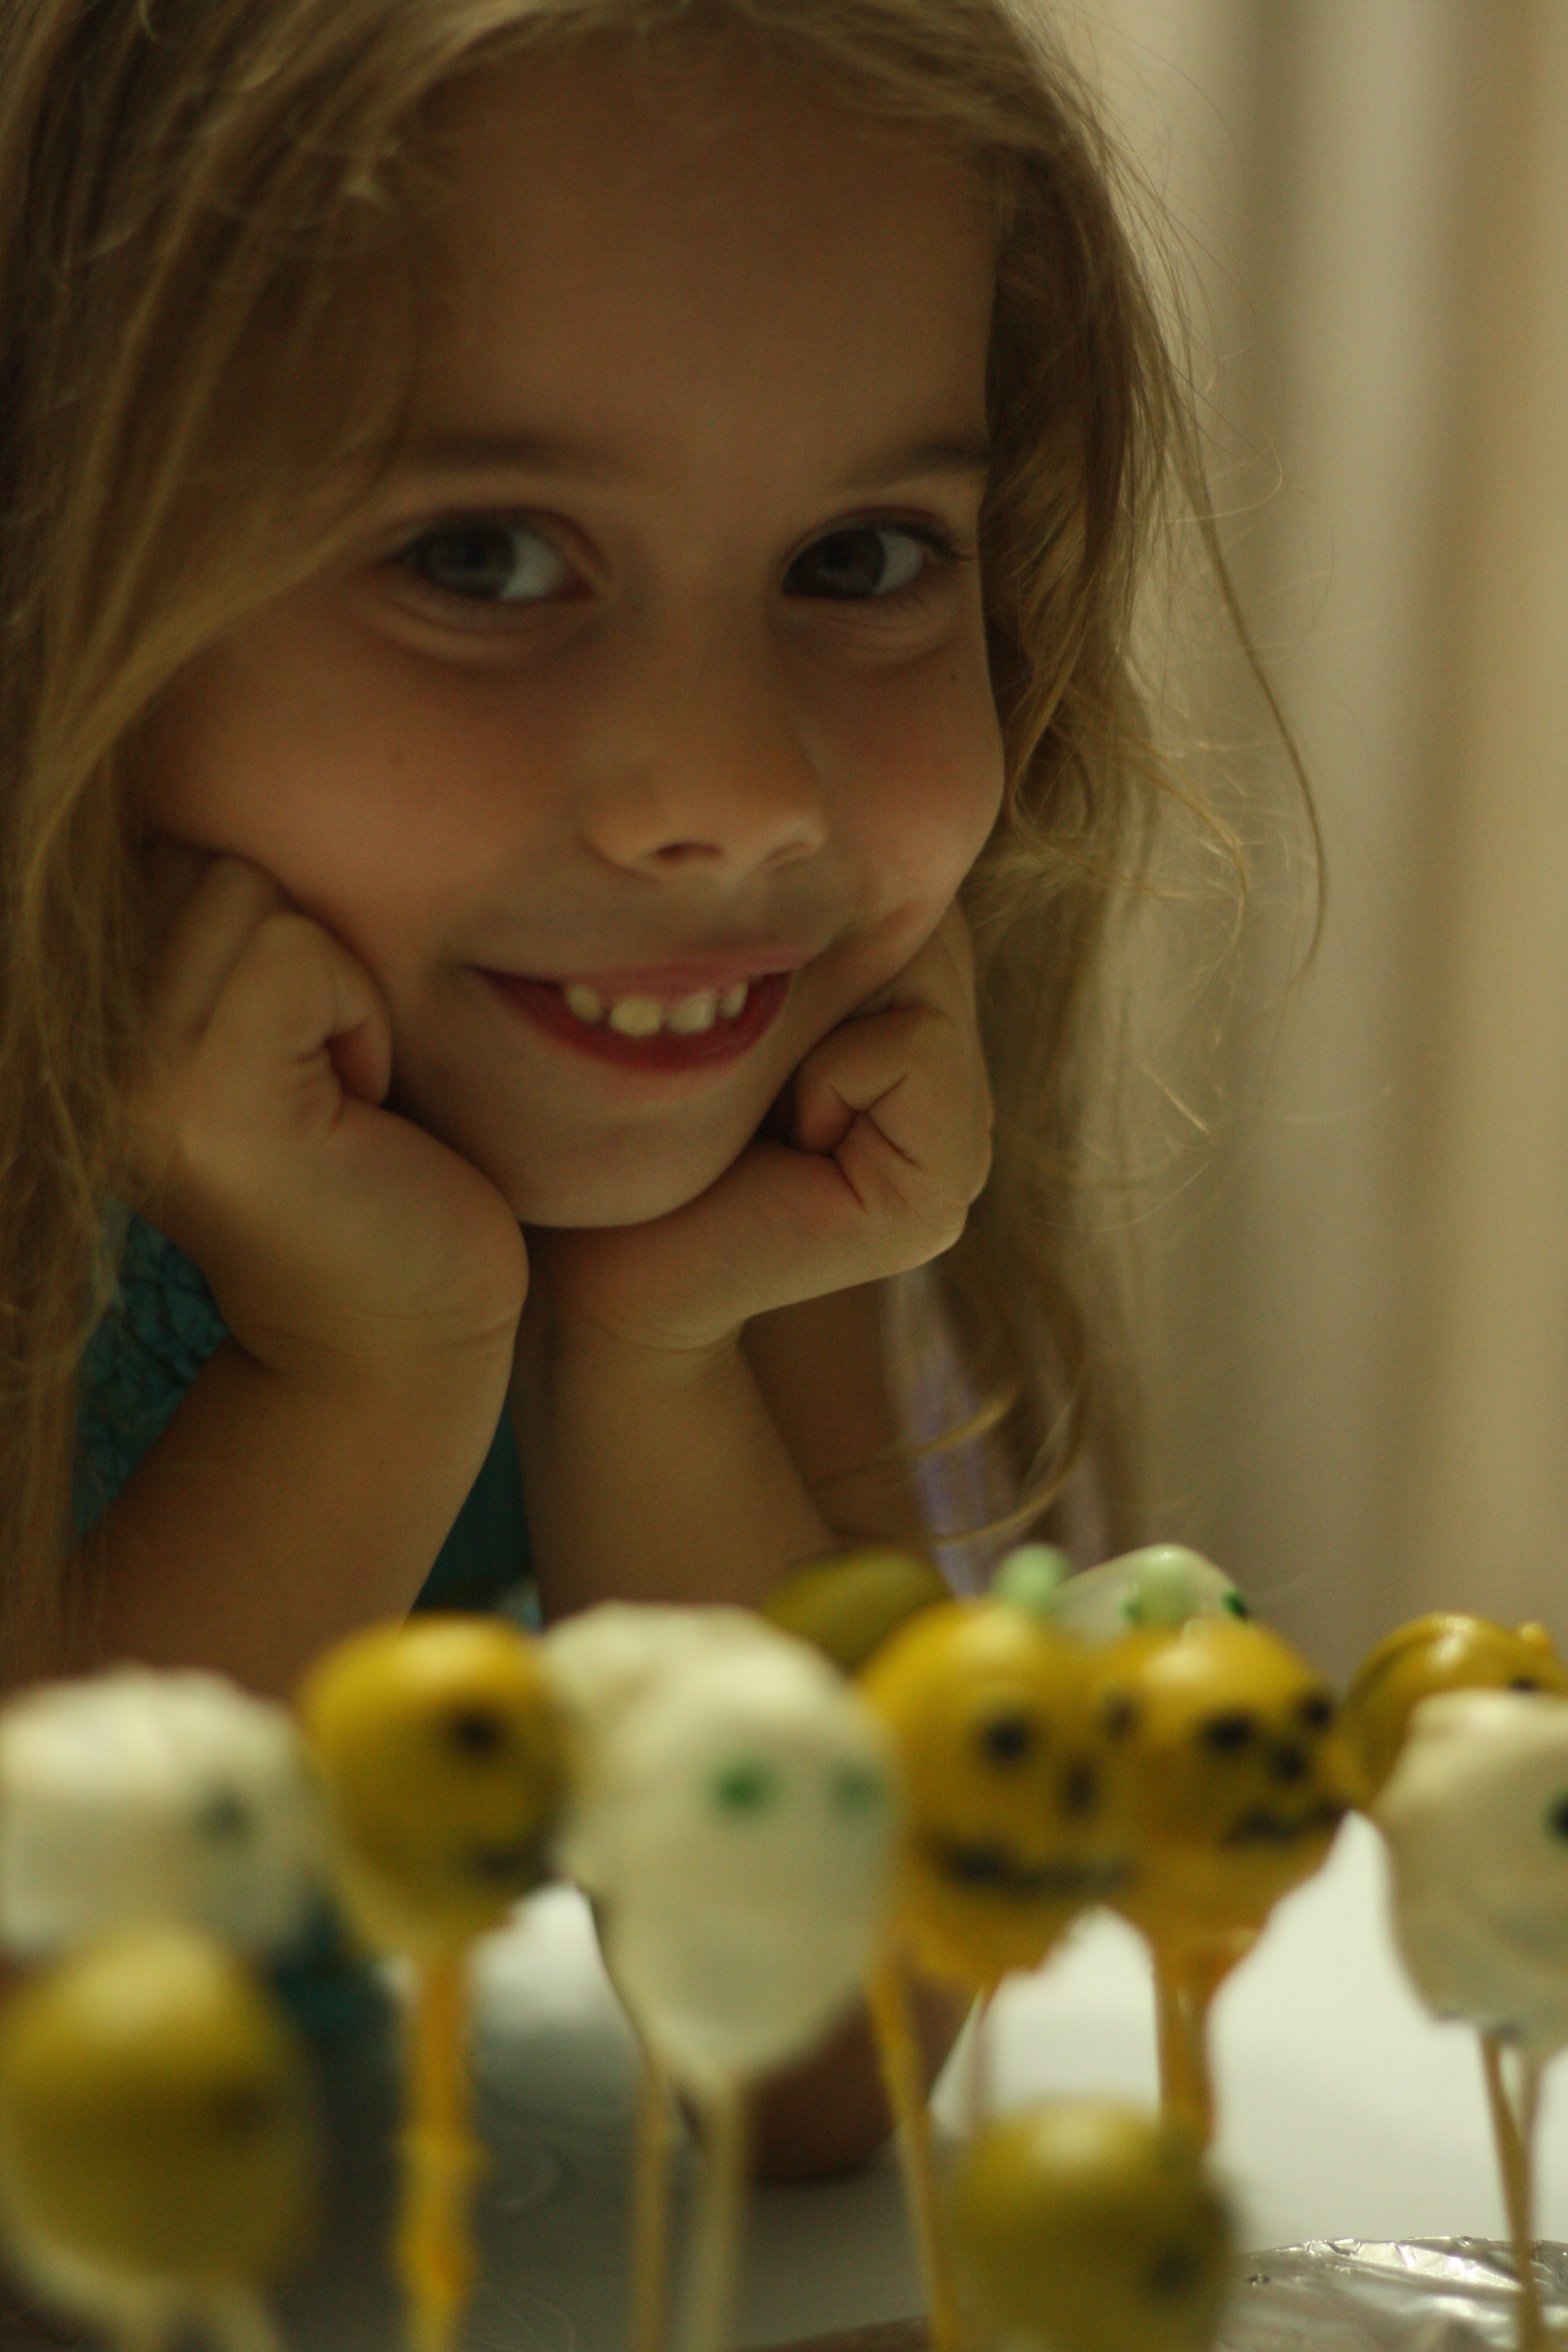


They were very good though and the girls love eating them as you can see above.
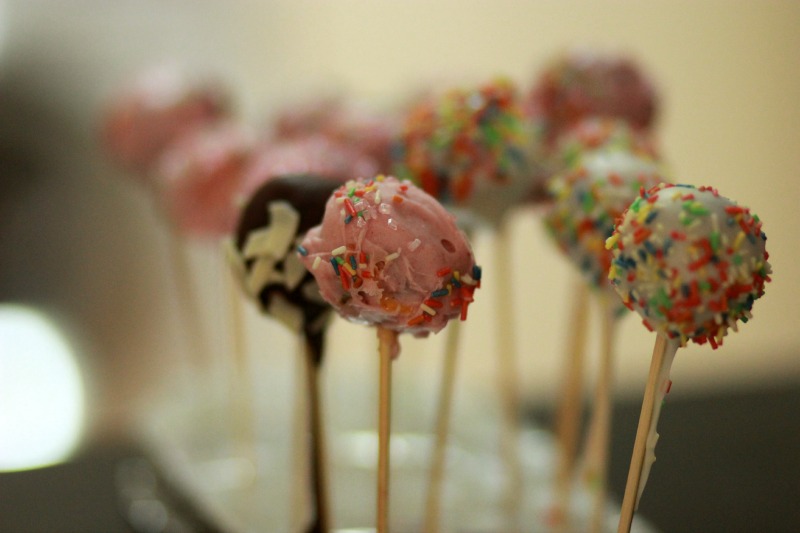
I prefer the cake pop that are made out of sponge and jam rather than the ones made out of sponge and buttercream. I think the latter is not as healthy as the first one because of the butter. And believe me it is a lot better to cover your cake pops with chocolate(good quality) rather than candy melts.
Like this Article? Subscribe to Our Feed!


2 Comments
Nomita | Ebabee
These look scary – which is exactly what you want for Halloween. And your gorgeous kids look like they enjoyed!
Otilia
Oh thank you. Really appreciate your comments.